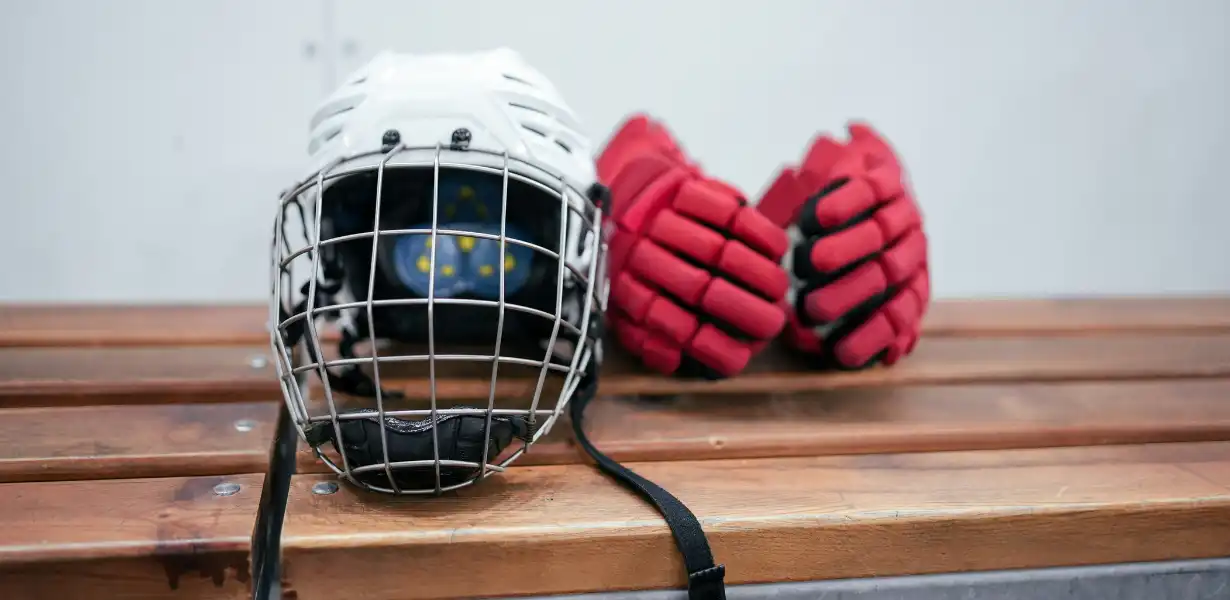
Hockey is one of the most exciting sports on the planet, but there’s one thing every player dreads—smelly gear. From gloves to shoulder pads, hockey equipment absorbs sweat and bacteria, creating a locker-room stench that’s tough to ignore. Beyond the smell, unwashed gear can also become a breeding ground for bacteria and fungus, increasing the risk of skin infections. The good news? With the right routine, you can clean and deodorize hockey gear effectively, extending its life and keeping yourself healthier on the ice.
In this guide, we’ll break down the best practices to clean hockey gear, remove stubborn odors, and maintain fresh-smelling equipment all season long.
Why It’s Important to Clean Hockey Gear
Hockey players sweat—a lot. Each piece of equipment, from shin guards to helmets, absorbs moisture during practices and games. If gear isn’t cleaned regularly, bacteria multiply quickly, leading to strong odors. On top of that, dirty equipment can increase your chances of rashes, infections, and even staph exposure. Keeping your hockey gear fresh isn’t just about smell—it’s about performance, comfort, and safety.
Step 1: Air Out Your Hockey Gear After Every Use
The simplest habit to adopt is airing out your gear immediately after use. Don’t toss your equipment into a closed bag and leave it in your trunk. Instead:
- Hang up pads, gloves, and jerseys in a well-ventilated area.
- Open your hockey bag and pull out everything—yes, even the little things like socks and jock shorts.
- Consider using a drying rack specifically designed for hockey equipment (like the Drystick.)
This step doesn’t fully clean your hockey gear, but it drastically reduces the growth of odor-causing bacteria.
Step 2: Washing Your Hockey Gear
A lot of hockey gear can be washed at home, but it’s important to know what’s safe for the machine and what isn’t.
Machine Washable Gear:
Most soft gear—shoulder pads, pants, and some shin guards or elbow pads (if the plastic inserts are removable)—can be washed in a standard washing machine.
- Use cold water on a gentle cycle.
- Place items in a laundry bag or pillowcase to protect straps and Velcro.
- Add a small amount of mild detergent (avoid bleach or fabric softeners).
Hand-Wash Only Gear:
If shin guards or elbow pads have fixed plastic inserts, they should be hand-washed with warm soapy water instead of going in the machine.
Step 3: Cleaning Helmets, Skates, and Gloves
These items take the brunt of the action and require extra care.
- Helmets: Remove the cage or visor, then wipe down the interior padding and straps with disinfectant wipes or a mild soap solution. Allow everything to air dry completely before reassembling.
- Skates: Wipe the interior liner with a damp cloth, then spray with a sports gear disinfectant to kill bacteria. Remove skate guards and always dry blades thoroughly to prevent rust.
- Gloves: Gloves can often be machine washed, but check the palm material first. Leather or suede palms may stiffen in the machine. For stubborn odors, soak in a mix of warm water and vinegar (1:3 ratio) before washing.
Step 4: Deodorizing Hockey Gear
Washing removes dirt and bacteria, but deodorizing keeps your gear smelling fresh. Some effective deodorizing methods include:
- Sports Gear Spray: Specialized sprays kill bacteria and leave a clean scent.
- Vinegar Solution: A natural and affordable option. Mix vinegar with water and lightly spray inside gloves, helmets, and pads.
- Baking Soda Packs: Instead of sprinkling loose baking soda (which can leave residue), use odor-absorbing pouches inside skates and bags to trap smells safely.
Step 5: Drying Hockey Gear the Right Way
Never throw hockey gear in a high-heat dryer—this can warp plastic, damage foam, and ruin adhesives. Instead:
- Use air drying racks or hang gear in a ventilated room.
- Speed things up with a fan or a gear-specific drying system.
- Make sure equipment is fully dry before putting it back in the hockey bag.
Step 6: Regular Deep Cleaning Routine
Even with regular washing, hockey gear benefits from the occasional deep clean. A few times per season:
- Run a full wash cycle for all machine-safe gear.
- Thoroughly wipe down helmets, skates, and sticks.
- Don’t forget your hockey bag—it collects just as much bacteria as your equipment.
Extra Tips for Maintaining Fresh Hockey Gear
- Wear Base Layers: Compression shirts and leggings absorb sweat, limiting how much gets into your pads.
- Use Odor Absorbers: Products like charcoal bags or moisture-absorbing pouches work great inside skates and gloves.
- Stick to a Routine: Set aside one day each week to check if your gear needs a wash or a spray-down.
How Often Should You Clean Hockey Gear?
- Base layers, jerseys, and socks: After every use.
- Pads (shoulder, shin, elbow): Every 1–2 weeks.
- Helmet and gloves: Once a week, or more often if odors build quickly.
- Skates: Wipe and disinfect after each skate, with deeper cleaning once a month.
Final Buzzer
Hockey gear will always work hard, but it doesn’t have to smell like it. With regular cleaning, deodorizing, and proper drying habits, you’ll keep your equipment fresh, extend its lifespan, and protect yourself from harmful bacteria. The next time you hit the ice, you’ll appreciate the comfort of clean gear—and so will your teammates.
All Black Hockey Sticks knows that taking care of your equipment is just as important as choosing the right stick. Keeping your gear clean means you can focus on your performance and enjoy the game without distractions.

