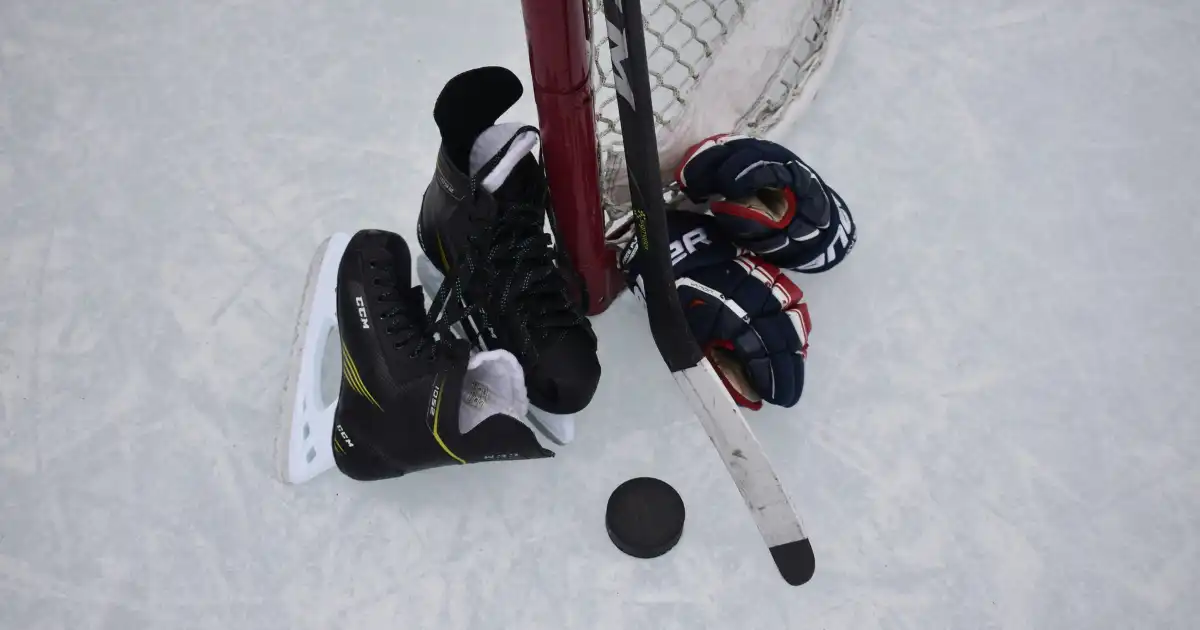
There’s nothing worse than stepping on the ice and realizing your gear isn’t up to snuff. From cracked blades to torn gloves, equipment wear and tear is part of the grind. But that doesn’t always mean you need to throw it all out. Knowing when a quick DIY repair will do the trick—and when it’s time to replace your hockey gear—can save you time, money, and frustration.
The Value of DIY Repair in Hockey
Hockey gear takes a beating. From slapshots to scrums in the corners, it’s built to endure—but not forever. A solid understanding of basic DIY repair can extend the life of your equipment, especially your favorite pieces that feel broken in just right. From re-padding your shin guards or stitching up gloves, many fixes are easier than you think.
DIY repair isn’t just about cost savings. It’s also about control. Fixing your own hockey gear lets you keep the feel and fit you’re used to, without adjusting to brand-new replacements. Plus, you can often get back on the ice faster than waiting for professional repairs or shipping delays.
Common DIY Repair Scenarios
Let’s break down the typical gear issues you’ll face—and what can be done about them.
1. Torn Gloves
If the palm of your glove is wearing thin, you can often patch it up with replacement palm material or synthetic suede. As long as the glove structure and protection are intact, a DIY repair here is cost-effective and keeps that broken-in feel.
2. Frayed Stick Tape or Grip
This one’s a no-brainer. Rewrapping your blade or grip is the ultimate DIY repair. Fresh tape not only improves puck control but also protects the blade and shaft.
3. Helmet Padding or Loose Screws
Loose screws or worn padding inside your helmet are often fixable. Replacement screw kits and foam inserts are easy to install. But if the shell is cracked—no DIY repair can save it. Safety comes first. Replace it.
4. Shin Guard Straps and Velcro
Over time, straps lose elasticity and Velcro loses grip. You can sew on new Velcro strips or use athletic tape to secure guards in a pinch. But if the structural integrity is compromised, it’s time for a replacement.
5. Skate Issues
Loose rivets or minor rust on blades? You can replace rivets and sharpen blades at home or at a local shop. But cracks in the boot or blade holder? Those signal the end of the road. Skates are your foundation—compromised boots mean compromised performance.
When Replacement Beats DIY
There’s a fine line between a clever fix and a risky shortcut. While DIY repair can handle cosmetic or minor functional issues, safety is your top priority. Here’s when you need to hang it up and get new gear:
• Cracked Helmets: Never risk it. Head injuries are serious. Once a helmet’s structure is damaged, no patch job will make it safe again.
• Broken Stick Shafts: Even carbon fiber magic can’t bring back a snapped twig. It’s time to upgrade.
• Torn Shoulder or Elbow Pads: When the padding no longer protects your joints, your performance and safety are at risk.
• Failing Skates: Cracked holders, broken eyelets, or deformed boots can’t be salvaged.
Tips to Extend the Life of Your Hockey Gear
Prevention is the best DIY repair. Take care of your equipment and it will take care of you.
• Air Dry After Every Skate: Moisture wears out fabric and invites bacteria. Hang gear to dry fully between sessions.
• Use Gear Bags with Ventilation: This helps reduce the risk of mold and odor buildup.
• Inspect Regularly: Catch minor issues before they become big problems. A stitch today saves a split tomorrow.
• Tape Smart: Don’t go overboard. Over-taping can add weight and even reduce performance. Keep it clean and functional.
DIY Repair Kits Every Player Can Rely On
Every player should have a small repair kit ready for locker room emergencies or home fixes. Stock it with:
• Hockey-specific screw kits (for helmets and cages)
• Strong adhesive and fabric patches
• Extra tape (cloth and clear)
• Sewing kit with heavy-duty thread
• Replacement laces and Velcro straps
This basic gear can turn a potential disaster into a simple fix, getting you back on the ice without missing a shift.
When in Doubt, Reach Out
Not every fix has to be on your shoulders. Online resources, how-to videos, and even local pro shops can offer advice and tools for those borderline cases. And sometimes, it’s smart to ask an expert before trying a complicated DIY repair that could cost more in the long run.
Final Whistle
DIY repair is a must-know skill for any hockey player. It saves money, extends the life of your favorite gear, and keeps you on the ice longer. But knowing when to fix and when to replace is just as important. Use your best judgment, stay safe, and invest in gear that’s built to last.
With the right know-how and quality equipment like ABHS sticks and accessories, you can tackle wear and tear head-on. Keep your gear in top shape—and keep lighting the lamp.

